Buster Bots
Buster Bots on Meta Quest | Quest VR Games | Meta Store
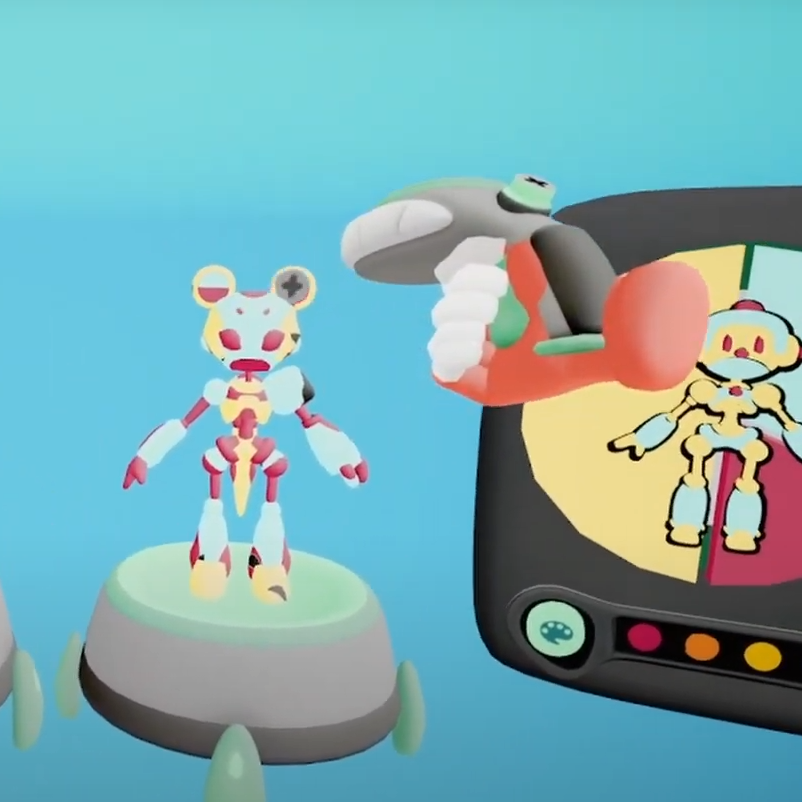
Buster Bots is a multiplayer VR fighting game where the player is able to assemble and paint their own custom robots!
Leadership
Shader Creation
Pipeline Work
With a team size of 7 I acted as the Technical Director and main technical artist. She led meetings, supervised QA testing and sat with programmers to work through bugs in the game.
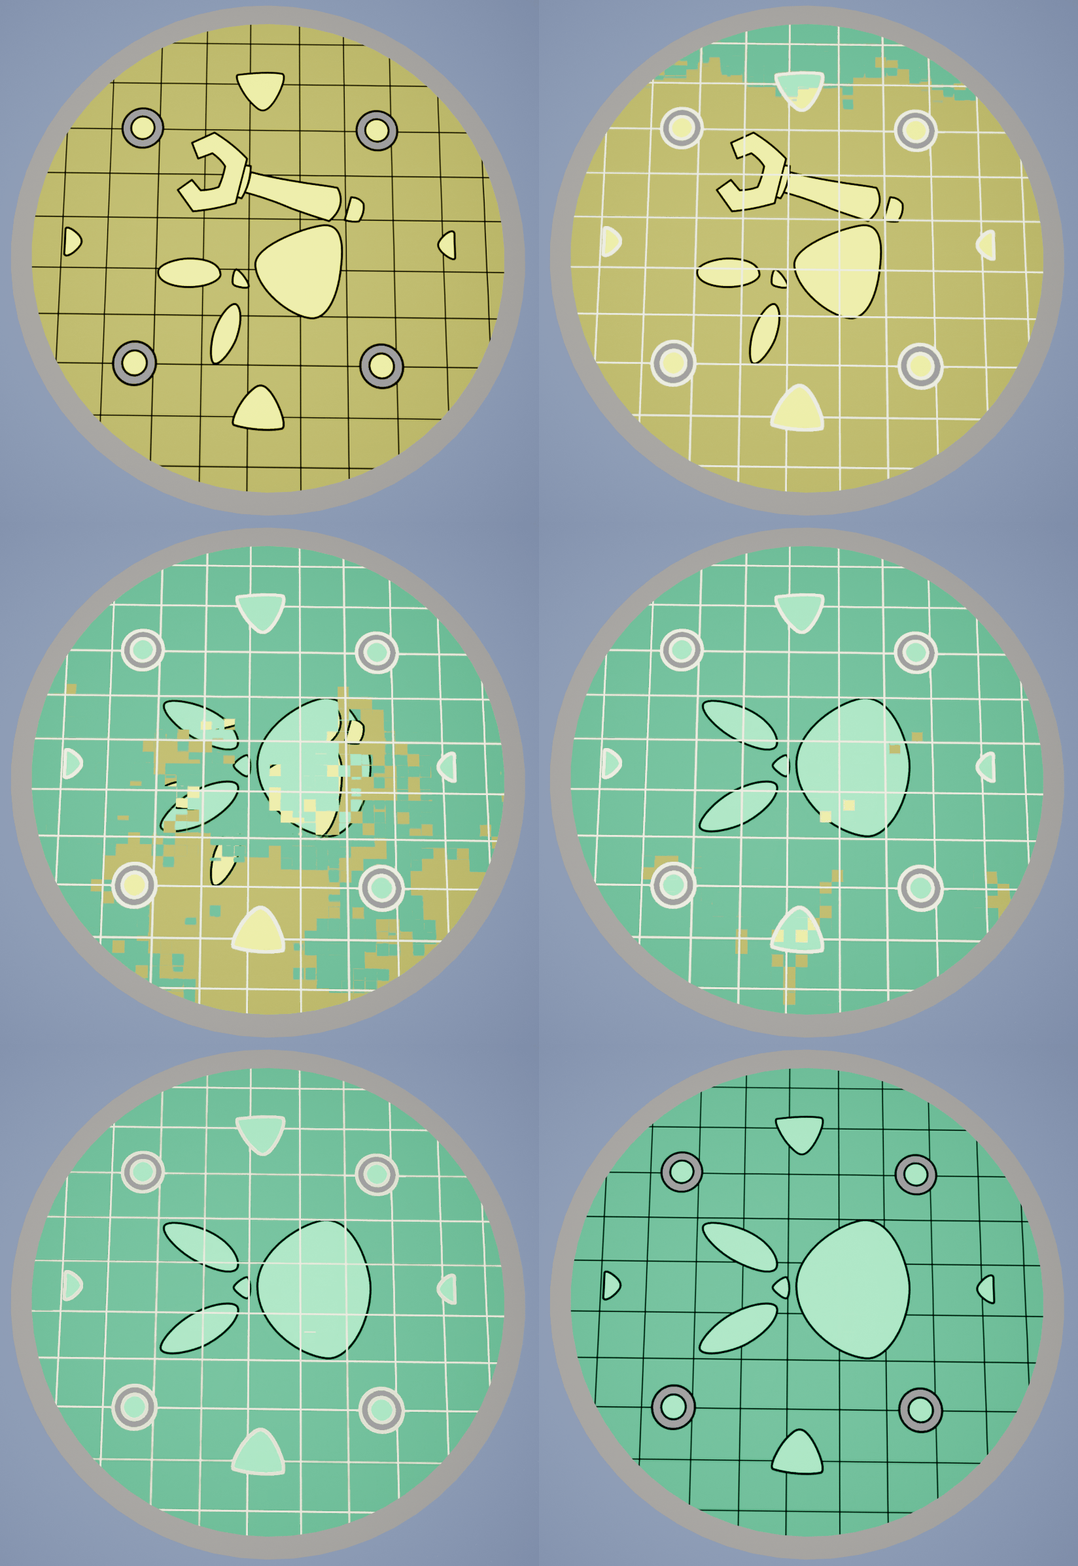
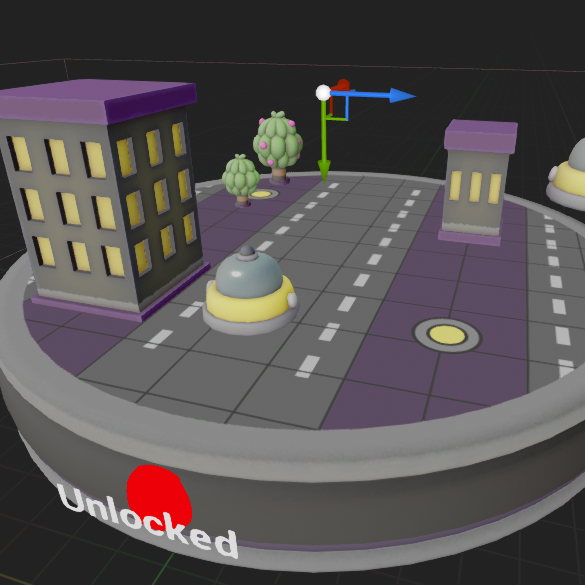
I created a Fake Lighting Shader, all Base Shaders in the game and an arena transformation shader. All Shaders were created with the goal of the game running on an Oculus Quest 2 and 3.
During production I created pipeline documents to guide artists on the best practices for creating for VR in UE5. I also created a method for combining the robot meshes into one customized texture.
Texture Generation
Optimization
UI Integration
For the VR Painting function, I created a blueprint for the player to use to create custom textures. This required a use of render targets and lots of creativity to simulate a painting program in VR.
With the goal of the game running on an Oculus Quest 2 I optimized the game using Render Doc. This process included stress testing, creating unlit materials and a lot of communication with artists.
The art lead designed a User Interface for the game. I used blueprints to create a user interface mockup to be tested. Then collaborated with programmers to incorporate the final version.
Sams VR
Stay Alive My Son on Steam (steampowered.com)
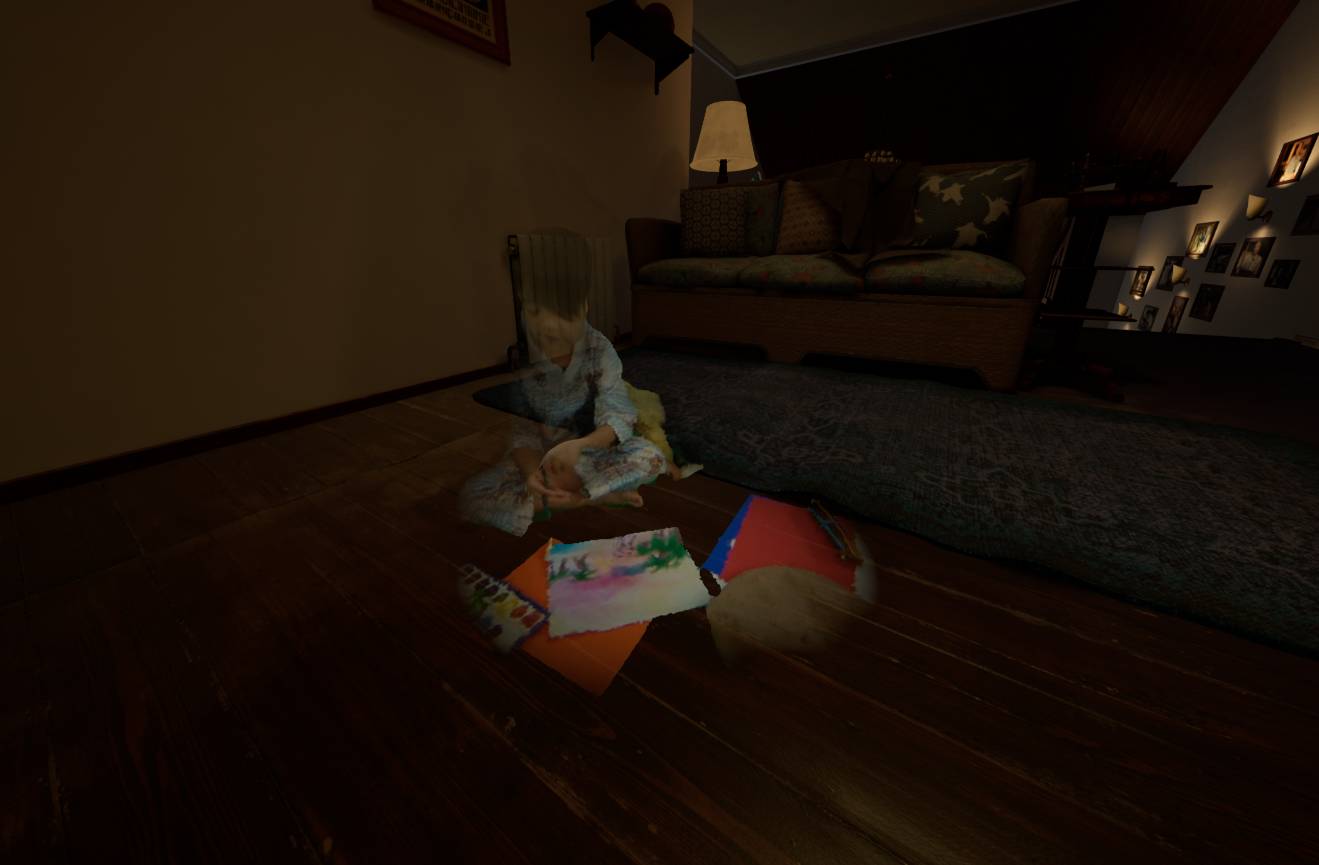
Stay Alive My Son (SAMS) is a Virtual Reality game where the player goes through a fantastical retelling of a tragic real-life story. The player takes a first-person perspective and walks from a real life setting into a place of memory.
Shader Creation
Pipeline Work
Optimization
For this project I created a unique shader to create a memory appearance for Vertex Animated Meshes. I also created other various shaders such as a fall leaf shader (to make trees more realistic) and a watercolor shader.
I created a system to bring in and edit metahumans from Blender to Unreal Engine 4. To make this I worked with our character artist to find the correct plugins and workflow to get this system to work.
During production I created pipeline documents to guide artists on the best practices for creating in VR for UE4. I went through the VR game, collected MS per framerate and created adjustments to the game without compromising quality. The goal for this game was to make a realistic VR game function on a 3060 GPU Desktop for festival presentation.
Asset Integration
Rigging
Visual Control Management
For this project I brought our character artists handmade assets into the game from Blender. At times I also adjusted the 3D Assets when changes were requested. Such as remodeling stairs, changing poses for the player’s hands, ext.
The majority of the 3D characters in this game did use metahumans. However, there were assets that needed to be rigged. I rigged a giant monster hand for our character artist to animate, then brought the animations into UE4.
For this project our team used Plastic SCM as our Version Control Service. I worked with our programmer to help maintain a healthy workflow. Together we kept our repository clean and organized. We rarely had a conflict due to our efficient communication.
Blobkin Blaster VR
Blobkin Blaster on Steam (steampowered.com)
Hop into a colorful cartoon world and save the ocean from invasive fish species! Your little Blobkin buddies will act as your weapons to defend the seabeds and eat trash! Yes this is a VR Shootem up made with style!
Shader Creation
Pipeline Work
Optimization
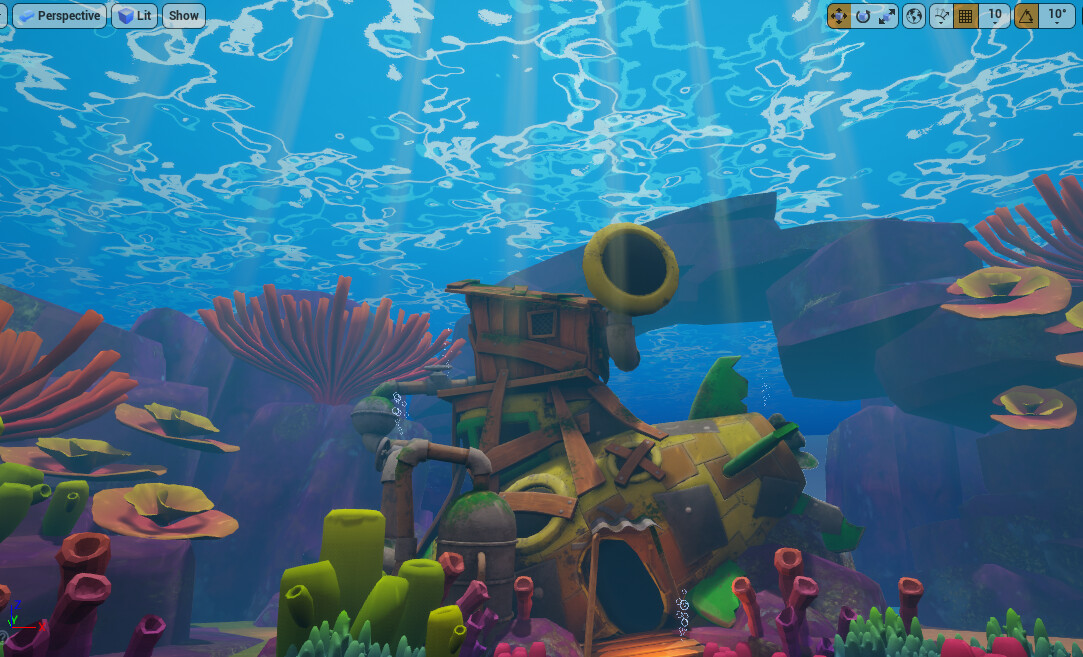
Blobkin Blaster VR was the first game that I made shaders for! I created a post process shader to simulate the feeling of being underwater. Then several distortion shaders to help the coral wiggle, to create the look of the ocean surface, create the look of flowing chemicals, the look of underwater goop, ext. I loved creating shaders for this game!
During the production of Blobkin Blaster other departments of Theory Studios asked me to edit pipeline documents for their team’s projects. These edits included a Render Script that allowed artists to quickly prepare a Blender file for rendering. As the project went on the team needed different rendering nodes and presets, so I frequently made alternative versions of the rendering script.
Blobkin Blaster VR was made for Steam VR. The goal GPU was a 1020 Nividia. During this product I took very glitchy under water scenes and researched how to make them more optimized. This game turned me into an optimization artist! Through research I brought the game into a playable state for older computers.
3D Modeling
Procedural Blueprints
Project Management
During the production of Blobkin I assisted the art team by retopoing their high poly models. After doing this I also helped to bake several maps, such as normal maps. As a 3D Modeler I was able to bring my skills into Optimization, especially with store bought assets. One example being a ship bought from the Epic Games store that needed to be gutted and optimized (reduced to 1/10 of its original polys).
One thing that I was able to do during this project was to experiment! I had the privilege of designing a godray generator. The intention was for the artist to be able to quickly adjust the number, length and look of the generated godrays. This introduced me into the world of procedurally generating meshes in Unreal Engine.
Before becoming a technical artist I acted as a Project Manager for Blobkin Blaster. During this time I checked in on team members, arranged meetings, managed tasks and took notes during meetings. I would also frequently lead meetings to make sure that the team stayed on task and that everyone had enough time to present their work. our meetings took place twice a week and we aimed to work in a Scrum style.
Grand Rapids Museum AR Project
Grand Rapids Public Museum (@grpm) – Sketchfab
My internship was at a museum! 3D Modeling for Augmented Reality! The intention of the project was to borrow artifacts from local Native American families, create models of the artifacts and then return them to the local families. That way we could share their wonderful history, and the families would be able to keep their artifacts.
Creating High Poly models
Retopoing
Creating Textures
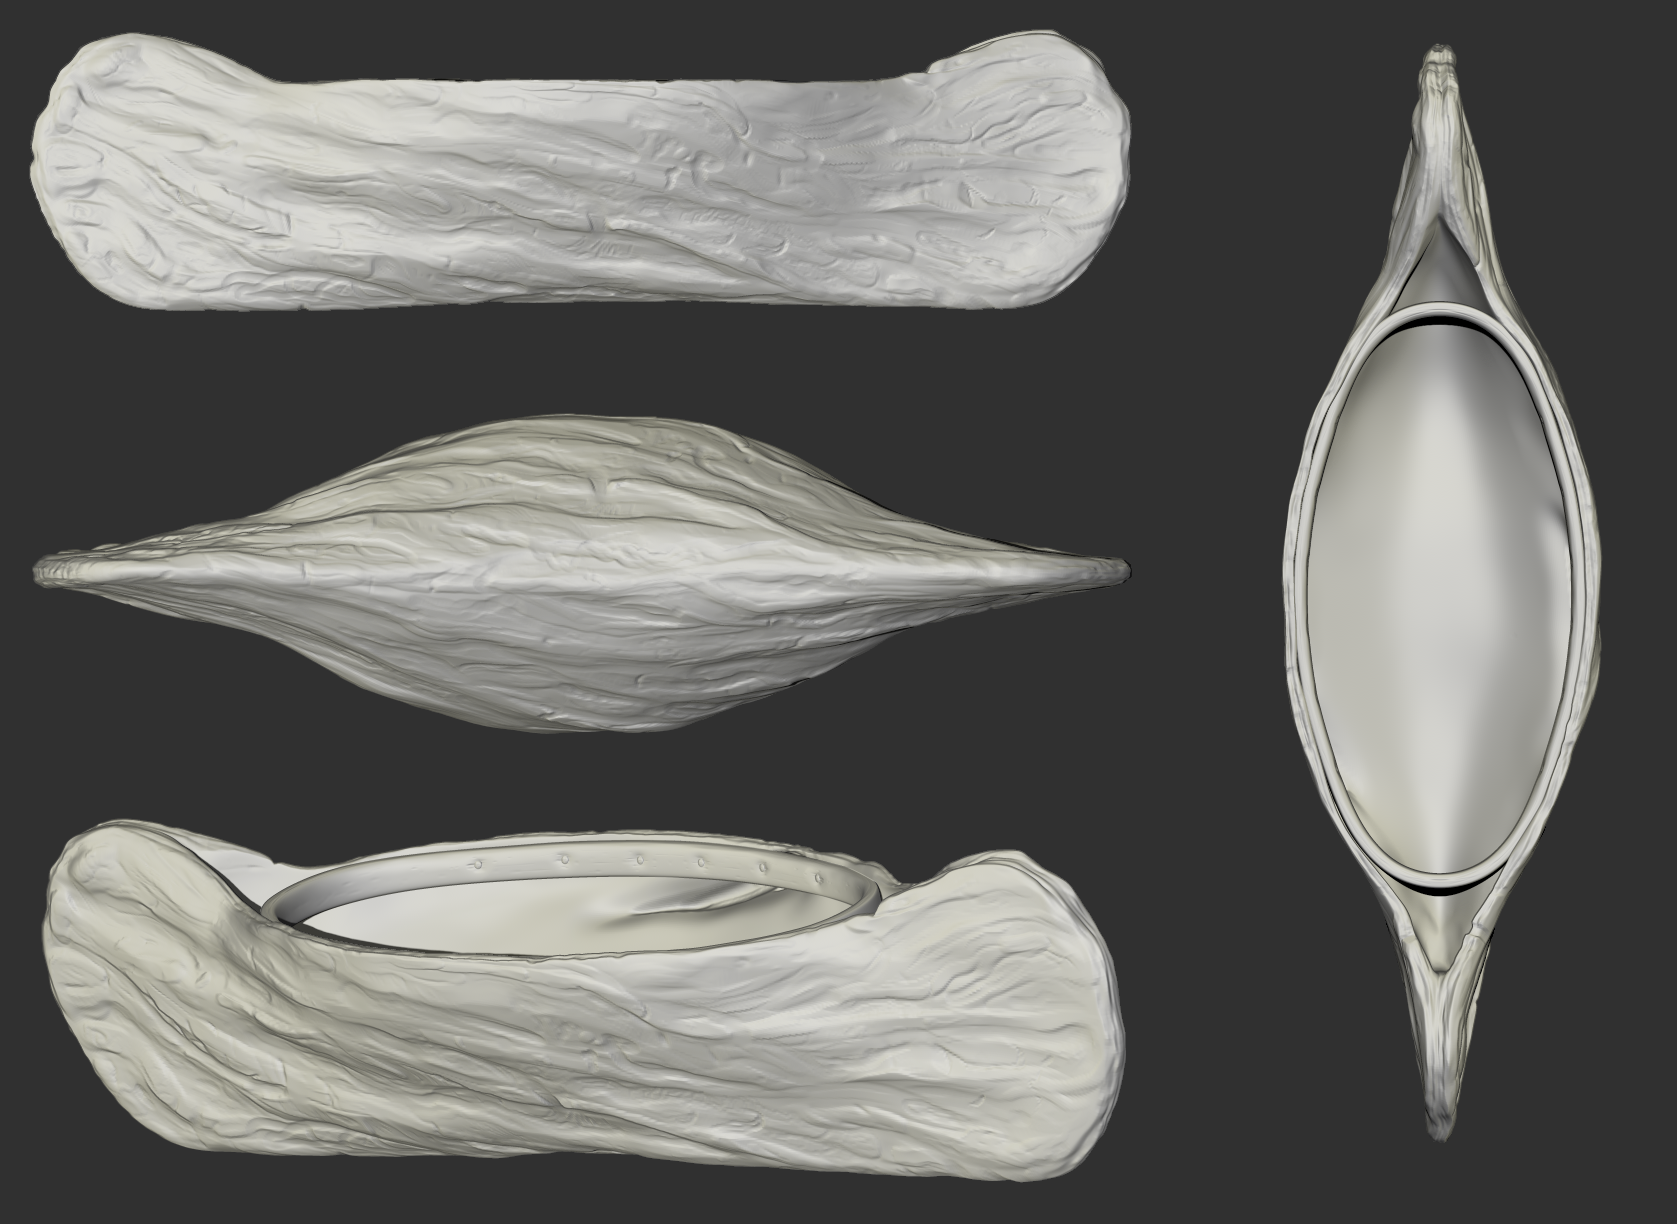
At the start of each model I would create a realistic sculptor of the model in Zbrush. This included learning ZModeler, as I had to create more complicated sculptors like those of realistic woven baskets. This really introduced me into the usefulness of tools and cleverness while 3D Sculpting.
Once the High Poly Models were created I would Retopo them. Often this was done in 3D Coat. The goal of the Retopo was to make the model as low poly as possible. The models needed to be low poly but still recognizable, especially since the mobile technology of the time was less capable of heavy framerates.
Lastly, I would create textures for the low poly models. This was especially important as the models needed to look somewhat realistic but be low poly to function. To do this I baked normal maps at 1024 x 1024. Then I painted the models by hand, often using photoshop tricks to make them look more realistic.
Self-Management
Gathering References
Communication
This project was my first remote job. I would go into the museum to get references and ask questions, but the majority of my work was done at home. I used Trello to keep track of my work hours and made sure that I did not become distracted during my work! It was a very good first learning experience.
Each artifact was donated by a local Native American family for a limited amount of time. During the donation time I would go into the museum and gather several reference photos and videos. This was especially cool as I was allowed to go into the storage areas of the museum.
As I was working from home making it was my responsibility to make sure that I updated my project manager frequently. He needed updates to present before the council that had donated funds for the project. Fortunately, they were always happy with the rendered models!

Letʼs Connect
Letʼs bring your vision to life.
